
Image courtesy of www.sabdaspace.org
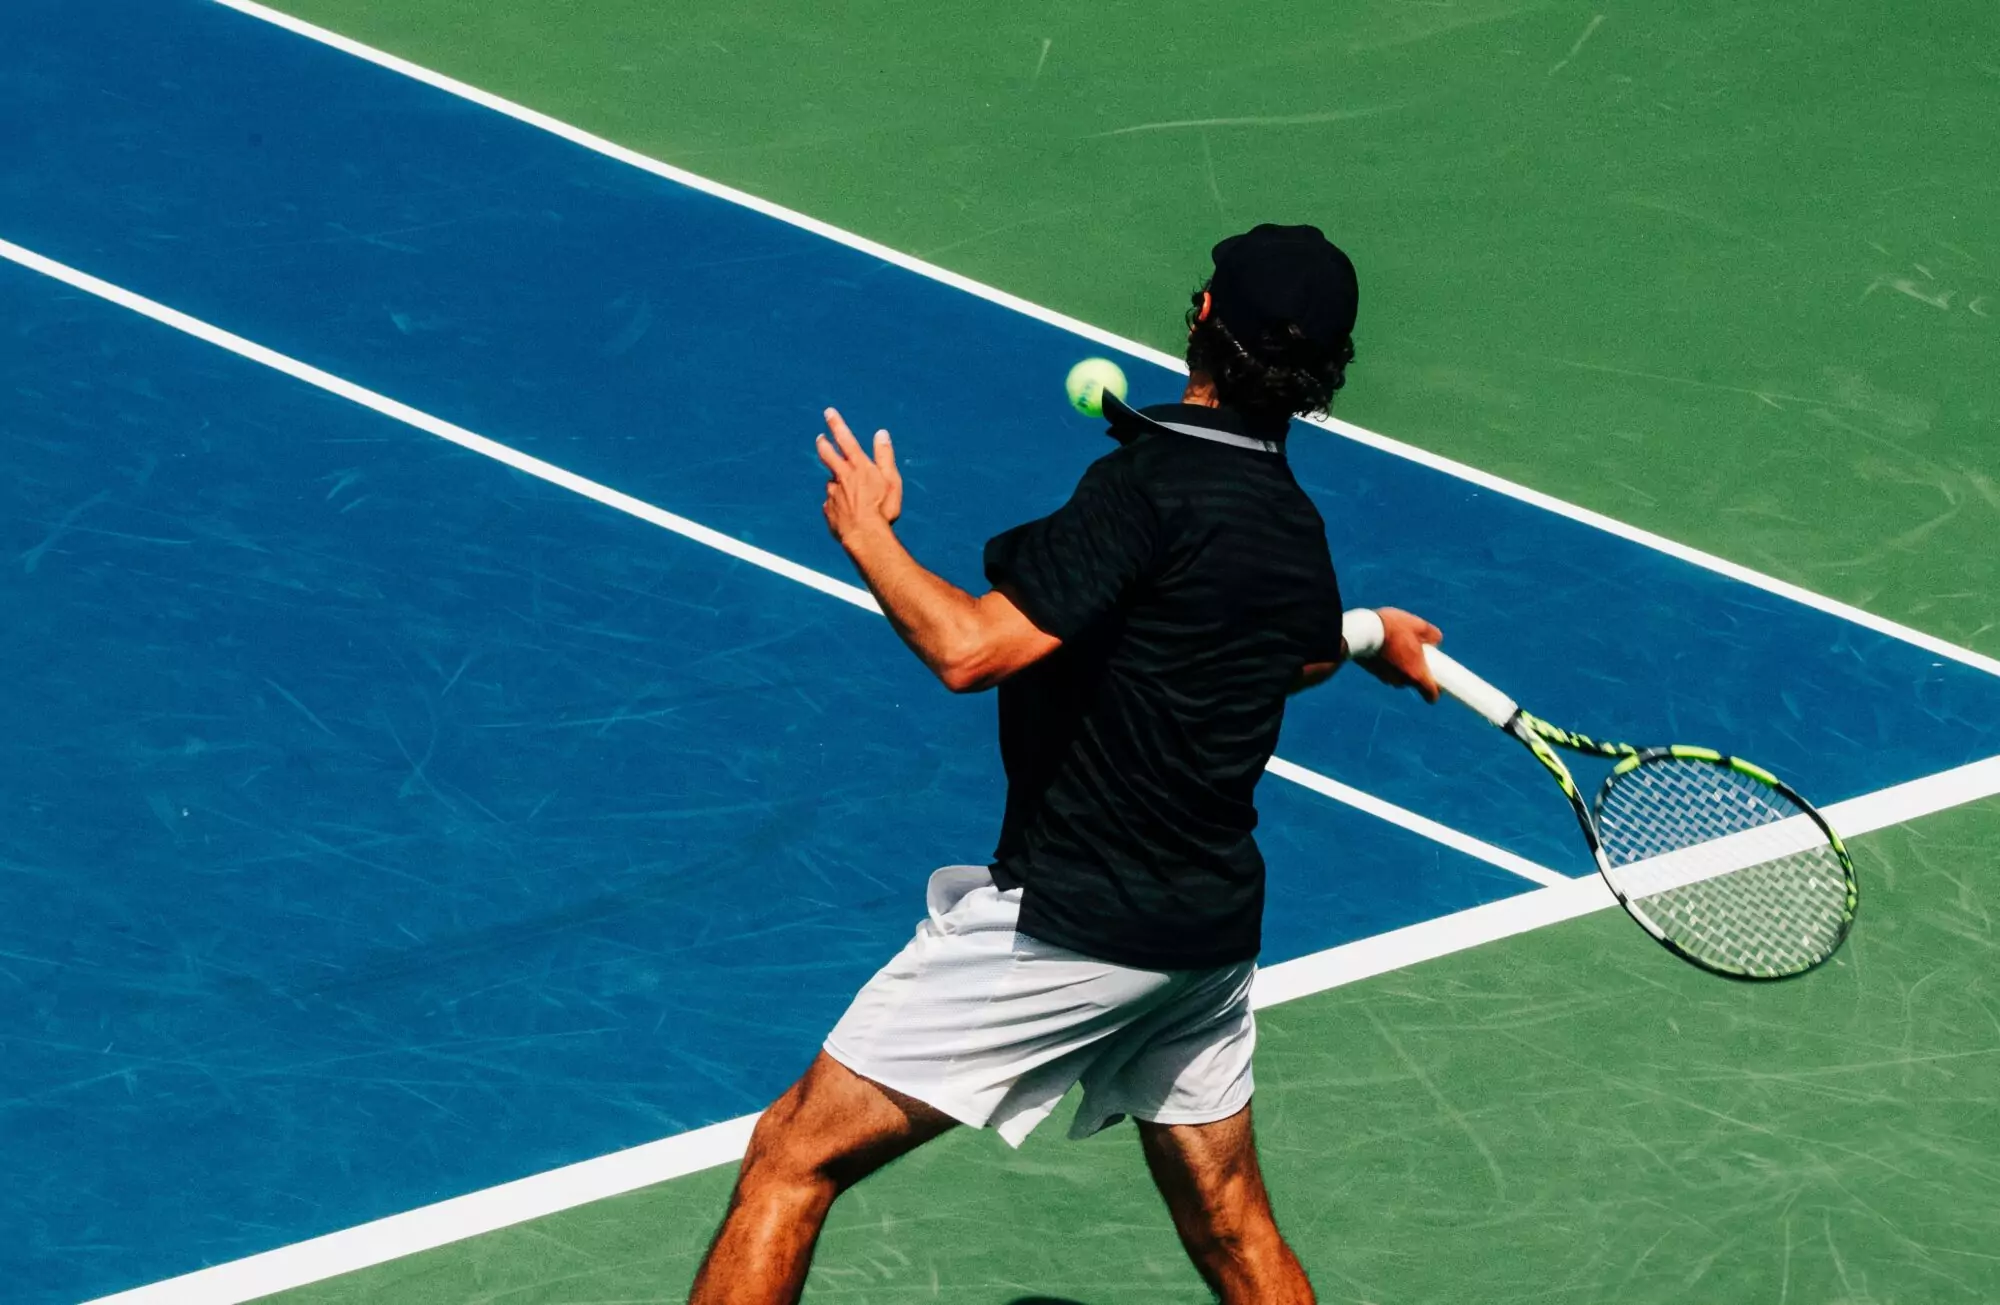
The information below was provided by a Fellow Tennis Parent and is the first in a 2-part series (click here for Part 2) on recording your child’s tennis matches. There are businesses such as our friends at High-Tech Tennis that will record your child’s tournament matches for you, but for those times when you’re on your own, I hope this information will prove useful.
Below are step-by-step instructions for building your own fence-mount for videotaping tennis matches.
The benefits are great for both the player and his/her family. While there are others, my top five are:
1 – Video doesn’t lie and isn’t your parent’s opinion. Players may truly believe they are doing everything right, and telling them what you see will not convince them otherwise. Watching themselves on video can open their eyes.
2 – The player’s coach is not always present at tournaments, and being able to hand him/her a thumb drive with the matches on it is valuable. Frequently, the player that the coach sees in practice doesn’t show up for competitive matches. Being able to view the player in both environments can lead to more effective coaching.
3 – Being able to show progression in a player’s abilities helps show them evidence of advancement. Improvement in tennis is a gradual thing, and the player often doesn’t realize how far they’ve come. Being able to show them where they were, compared to where they are now, can be highly motivating.
4 – College coaches like video. How else will they see a player who doesn’t travel to big events or near their college?
5 – I have video of my daughter when she was 8 (now 16), playing her first competitive matches. Those are precious to me and my wife. I can see myself pulling them out when I’m 80 and watching them all over again from the beginning. Plus I can play them on Prom night to embarrass her before her date.
All the above is true. Video is a valuable tool. However, it can be abused, and that is a huge concern for me.
I have fought for a long time with the USTA trying to get them to put something in the Code that will allow you to video your own child’s match. They are unwilling to do so, and have decided instead to do nothing in support. However, they do say that if anyone says to stop videoing, you have to stop. No argument is allowed or the official will default your player.
I mention this to show how tenuous a position we are in. If people start taking video of matches and argue with officials, or post embarrassing scenes, or identify children not your own, or post bad calls, the USTA will gladly make a very firm rule that nobody can video any match at any time. Then we all lose.
I am told that some Sections have already banned video. I do not know why, but if you think about how you could make any player look bad, by intentionally posting all their unforced errors, or when they shout in frustration, or if a questionable call is made, you can see why a Section would immediately default to the quickest solution. They will not try to police the bad actors; they will simply shut the door for everyone.
So I am approaching this with some trepidation. If people cannot control themselves, I will suffer for trying to help those like me who want only to help their player improve, and maybe play tennis at the school she wants.
I will close this forward with a plea to those who take video: Please… treat every player (even those you dislike) as you would wish your own child to be treated. I know it is very tempting to show really bad calls to the world, but you gain nothing except enemies. Your goal must be to improve your own player not prove a point about someone else.
Now for the good stuff.
Fence-mount for camera
I used to make my own camera mounts by disassembling a tripod for the head and fabricating the rest from PVC piping. Then I made a fitting that secured the head to the top of an extending painter’s pole. It was very stable but a little cumbersome, especially for air travel. It also took 8-hours of labor (including painting) and cost around $80 in parts.
What this new mount lacks in stability it makes up for in ease of construction, compact design, and low cost.
Parts – Pricing is approximate and may vary by your location
Monopod with standard pan-tilt camera mount $20.00 + shipping
Hanger $6.00
Stainless Steel hose clamp $4.00
Exterior/Industrial Two-Sided Tape $6.00
Rubberized Wrap $5.00
======
TOTAL $41.00
Monopod with standard pan-tilt camera mount – The below is great for my purpose. There are lots to choose from though.
Rokinon 71-inch Monopod – $19.49
http://www.overstock.com/Electronics/Rokinon-71-inch-Monopod/4342323/product.html
Note that the picture below (click on all images to enlarge) is just of the camera mount portion of the monopod. I prefer this type instead of the “Ball Mount” type as it’s easier to adjust. Once it’s set for the first match at an event, it usually is good for every fence. You will only have to adjust it if the fence is higher/lower, and that is easy.

Hanger – Lowe’s – $6.00 – You need something that will provide two prongs that can sit in the valleys at the top of a chain-link fence. The valleys are at three inches, so for maximum stability the prongs must be at 3, 6, 9, or 12”. I prefer 9 or 12 to provide lots of lateral stability, but cannot find a hanger with the properties that would allow it to mount easily to a monopod. The below is what I currently use. It has prongs at 3”.

They call it a “Cooler Hook” made to install in the Rubbermaid Fasttrack garage organization system.

Stainless Steel hose clamp – Lowe’s – $4.00 for the two-pack – The 2” diameter worked for me, but will depend on the diameter of your monopod.

Exterior/Industrial Two-Sided Tape – Lowe’s – $6.00 – This item is really optional. You can build the mount without it, but it helps to secure the hanger. Any two-sided tape will work. I just like the thinness and high adhesive strength of this stuff. I didn’t get a picture of the package, but if you ask in the paint department, for an exterior-grade two-sided tape that is gray with a red no-stick layer, they will find it.

Rubberized Wrap – Lowe’s – $5.00 – This stuff is not really tape, as it has no adhesive. It is incredibly pliable and will stretch several times its original length. It only sticks to itself, so it is mess-free. It will create a smooth “polished” look to the assembly and cover any sharp edges.

Assembly of monopod / Mount –
1 – Slide the foam hand-grip down the monopod shaft about 12” to clear the area under the head.
2 – Cut two small pieces of the Two-Sided Tape to match the top and bottom parts of the Hanger where it will touch the monopod, and apply to the hanger. The bottom piece will be very thin: maybe 1/16”. It’s not a problem if you use more, but it’s very sticky so dirt, mulch and anything else you set the unit on will get stuck on exposed tape.
3 – Open the Stainless Steel Clamp to its maximum diameter and slide onto the monopod. Leave it just above the foam handle.
4 – Press the Hanger with tape on the monopod at the highest position you can. Make sure it is as perfectly vertical as possible.
5 – Slide the Stainless Steel Clamp up over the Hanger until it is in the middle, and then tighten so that it will not easily move.
6 – Wrap the Rubberized Wrap around the Stainless Steel Clamp in the direction that will allow you to pull it tight and press the exposed end of the clamp down on itself to eliminate the exposed edge. Go around several times so you build up 3-4 layers.
You’ve just made a mount for $41.00 that would cost $150 online.
Below is a picture of the finished product. Might take 15-minutes to make, and is good for years of frequent use.

NOTE FROM LISA: There’s also an online resource for fence mounts called My Tennis Tools that sells a fence mount for about $75 plus shipping for those of you who aren’t really into the DIY thing!
When you’re ready to video –
- Determine which end will put the sun behind the camera, and hang the mount there if possible. Sometimes one (or both) ends share a fence with another court, so you cannot mount on that fence.
- Extend the monopod, and clamp the sections in place. Hit record on your camera and put it in place.
- After 5-10 seconds, pull it down, and hit stop. Then play the video to see if you have a good sight picture. If so, hit record again and put it back up. Close the LCD screen if you camera has one, to save battery.
- Because the hanger’s prongs are only at 3” it is not incredibly stable. Also, some fences are wobbly. To help secure the mount, I use a Velcro, or elastic to attach the very bottom of the monopod to the fence. This will help it stay in place if it’s windy, or a ball hits the fence near the shaft.
Your Camera –
To video tennis, you need a wide-angle lens to capture the entire singles court. The challenge is to determine exactly how wide angle, and whether it will fit your camera or not. If the lens is too wide the baseline will appear to bend. Perspective is also skewed for the entire court and ball trajectory. GoPro cameras will not work well.
If you already have a camera, and don’t want to incur the expense of a new one, you can get an add-on wide angle lens from a photo supply shop such as B&H Photo, and use your existing camera. I started with a Sony internal HD camcorder to which I added a Super Wide Angle 0.42x lens that I got used from B&H for around $50. The view was not perfect, and the baseline was slightly bowed, but it is better than spending $700 for a new camera. I also did not (and still don’t) know anything about lenses, so you could probably use a less extreme lens and get awesome results.
To simplify matters for myself, I bought a Panasonic HDC-SD90K. This camera has an internal 28mm wide angle lens which covers the full singles court. Other than Panasonic, I cannot find another camera with a built-in 28mm lens but you could spend some time looking. I also wanted an SD card camera because SD cards are easy to change out, readily available, and not too expensive. Sony makes you use their proprietary memory cards and they are not compatible with the SD slot on most laptops.
Don’t get an internal hard drive camera. If you are filming several matches, it can fill up, and you can’t just pop in another card. You would have to download the files onto your computer which takes a long time and usually isn’t convenient. I keep two 16GB SD cards with me and get about 6-hours of mid-level (720p) High Definition video on each one. If one fills up, I just pop it out, and slide in another. Then I can download the files onto my laptop at my convenience.
You will want to get the Class 10 cards, because they allow very fast data transfer, and in HD mode you will be collecting a lot of data very quickly. They say a Class 4 would be OK, but I don’t want any problems, and a Class 10 card in 16GB will only run about $20.
You will also want to buy an extended life battery. The ones that come with the camera are good for maybe 1-1/2 – 2 hours and if your match goes over that you won’t be happy. Can’t just pull the camera down in the middle of a match even if you could identify exactly when it would run out of battery. An extended life battery is good for 4-6 hours.
I did a quick search for my camera model and it looks like they discontinued it in favor of a new model – the Panasonic HCV700K. No idea what the improvements (if any) are but they jacked the price to around $700. You might be able to find it for less if you spend some time online.
Part 2 of this series is coming later in the week. Stay tuned!


Comments